The Longest Bathroom Renovation Ever
We must be able to claim this title. When - in the history of the universe - has an 8'x10' space taken almost two years to demo and rebuild? I think never. Oh, and we're not actually done two years in. Best not to think about that right now. We're done enough to make it work.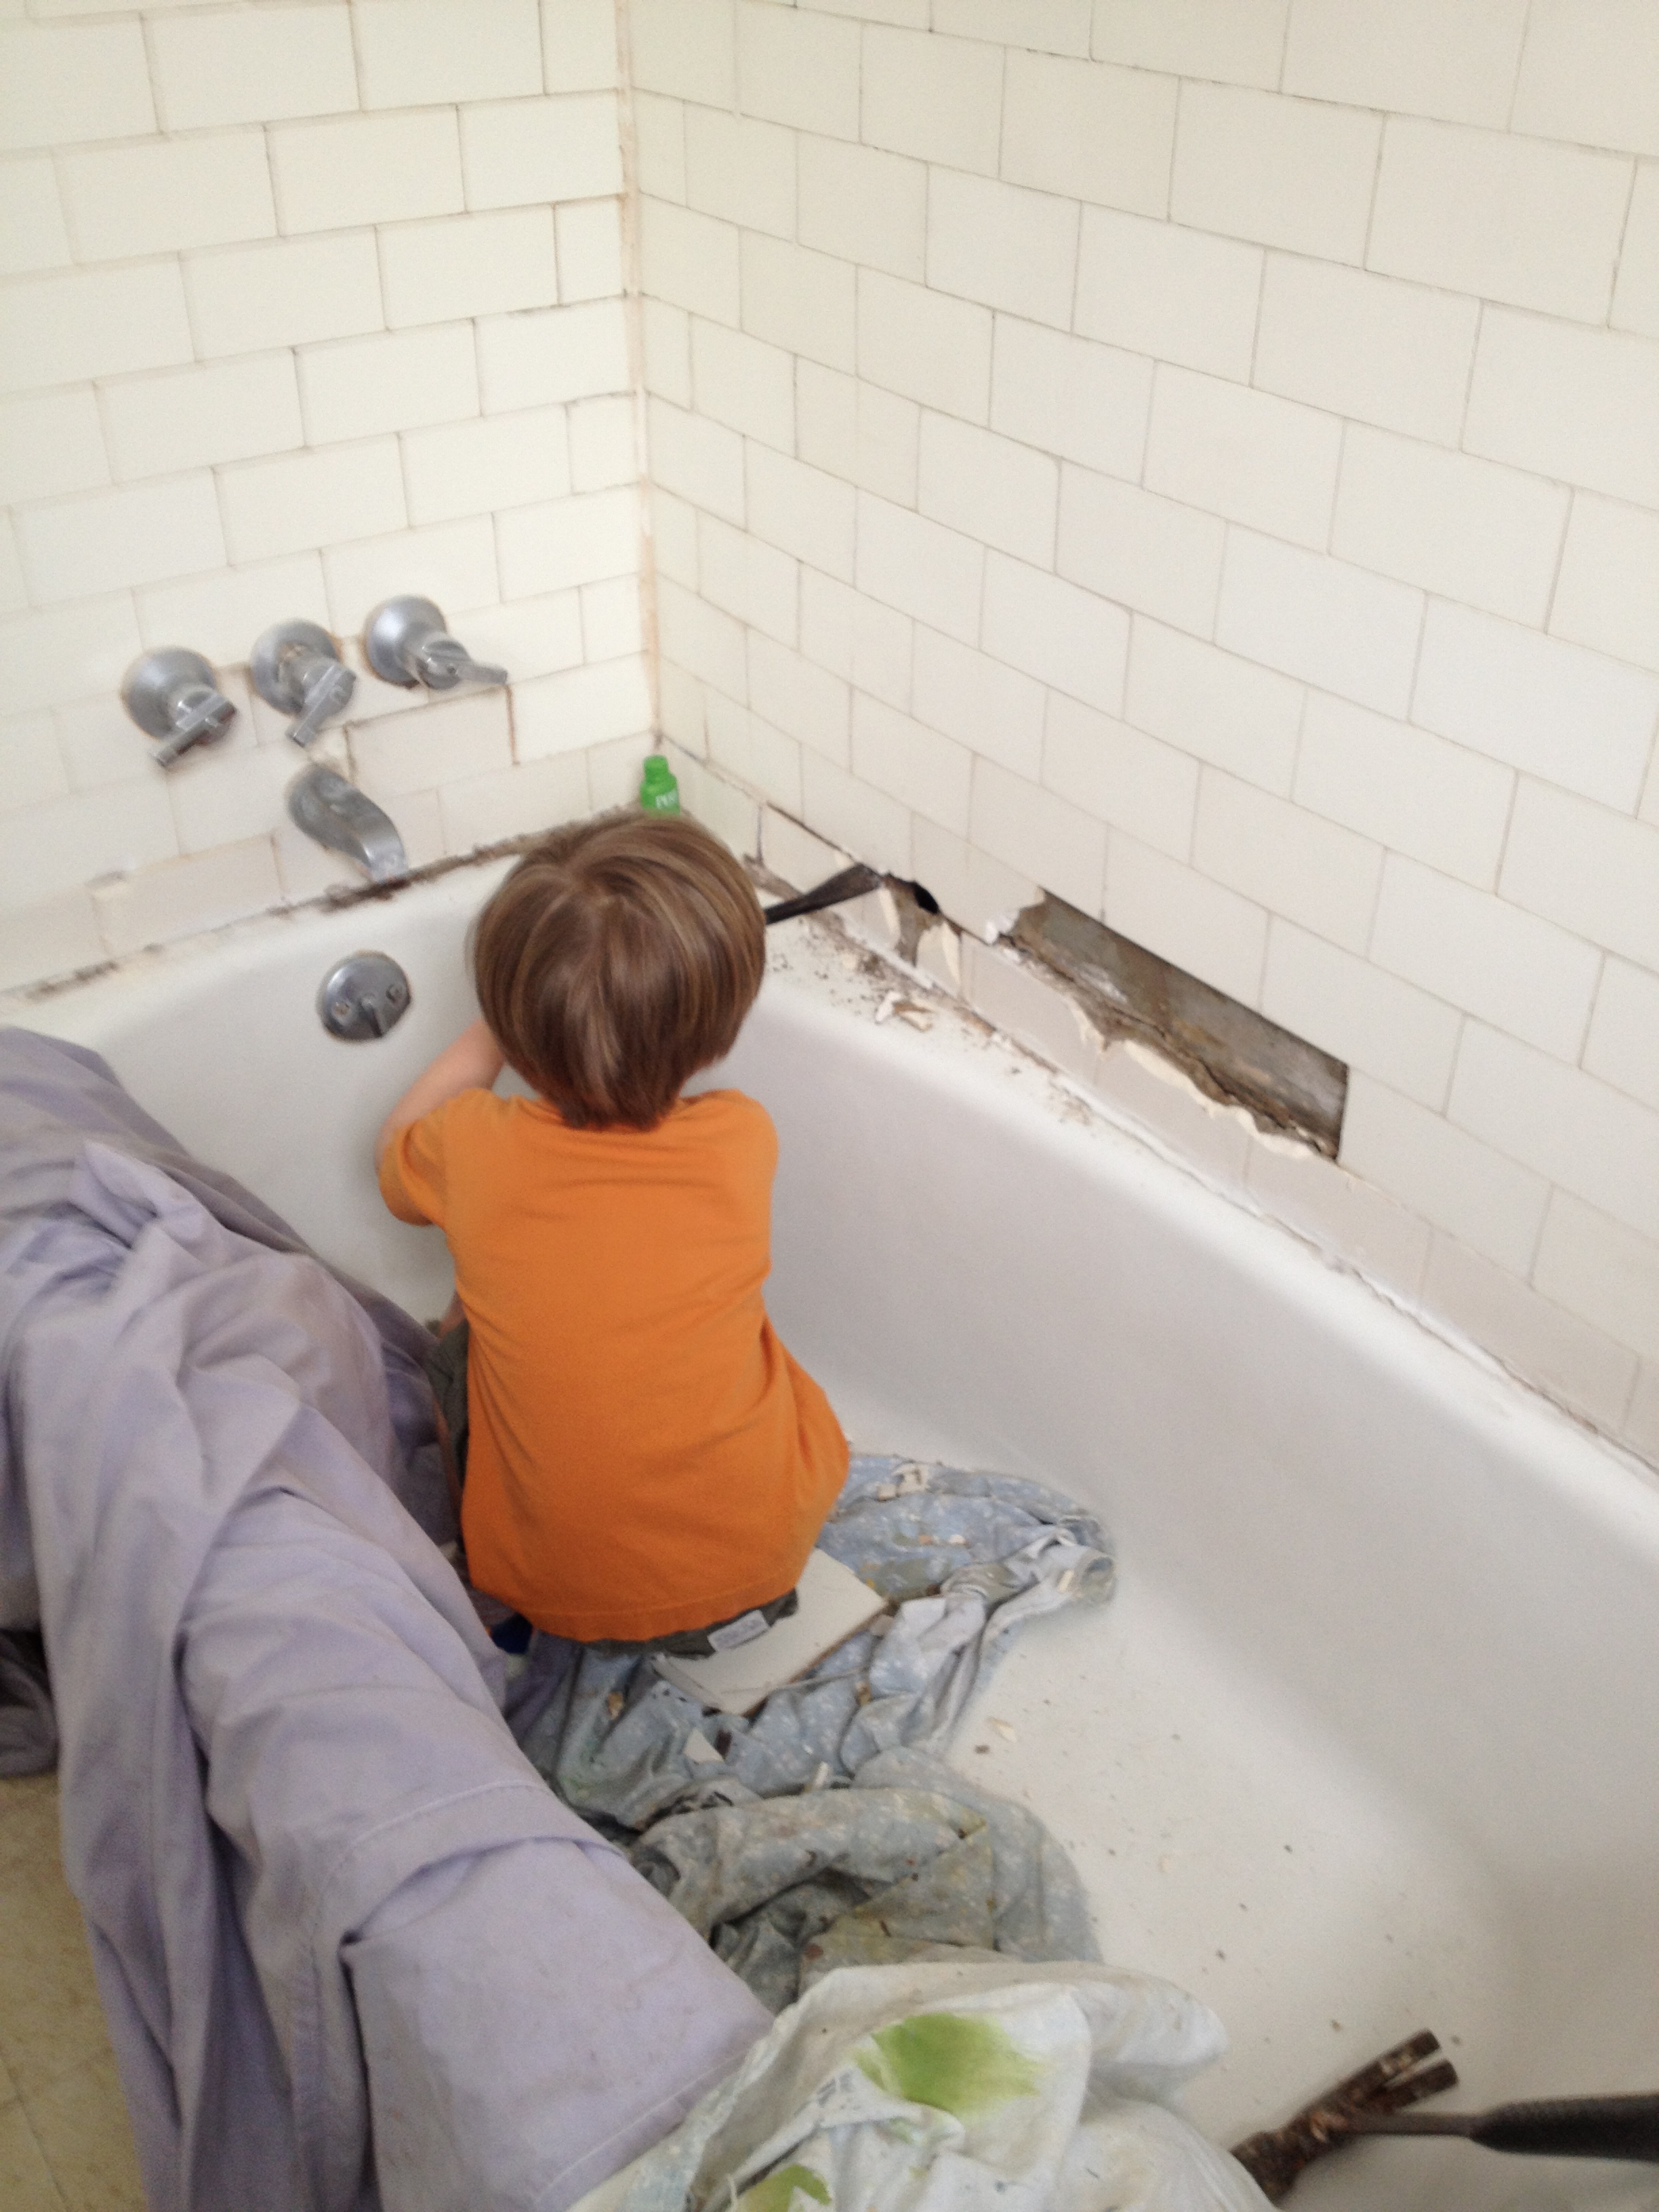 It began after football season ended in 2012. There wasn't much else to do on cold, Sunday afternoons so it was a perfect time to start demo.*Please note: in any applicable instance we tried to salvage as much as possible. The tile that we could save went to a friend who collects vintage tile. The crazy wall-mounted toilet (see below) went to a man in FLORIDA whose father started a plumbing company here in Pittsburgh and he wanted to display it in his shop down there. The fixtures that we didn't want to reuse went on Craigslist for new homes. I hate to waste ESPECIALLY cool, old stuff.*
  Yum. Asbestos tile.
  Here is the super great toilet that moved to Florida. The coolest part about it is that Pittsburgh went through a period where it was robbed of its final "h" (in 1891) but Pittsburghers don't like change that's forced upon them and lobbied - successfully - to get its H back (in 1911). So this toilet is from the period when it didn't have its H. So it's oooooold.
 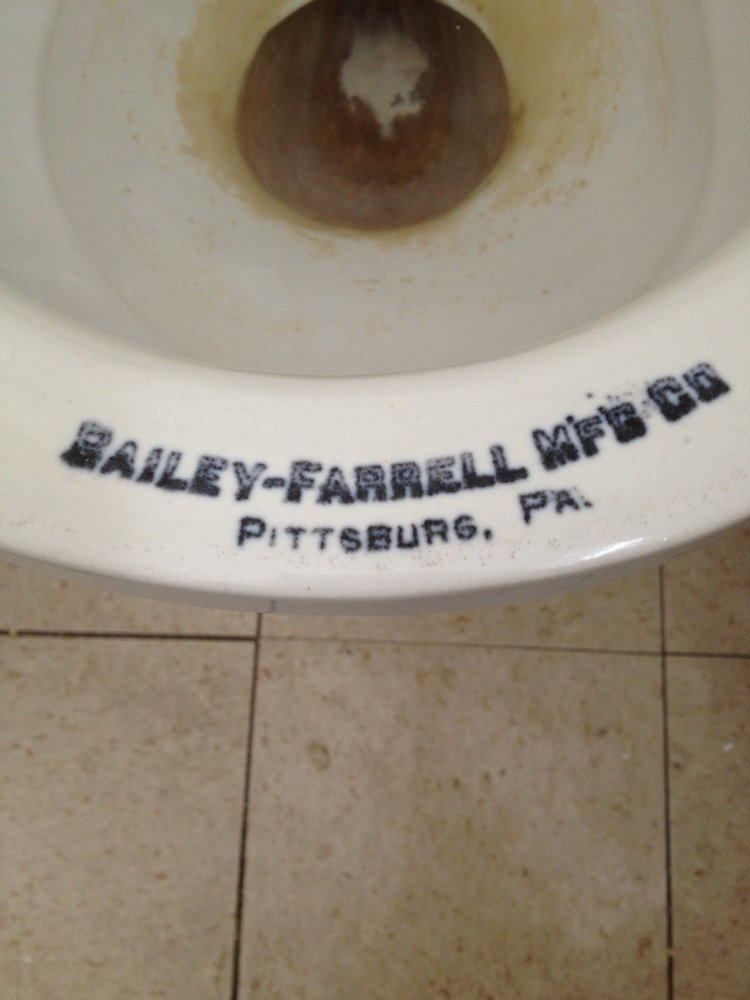 No "h"
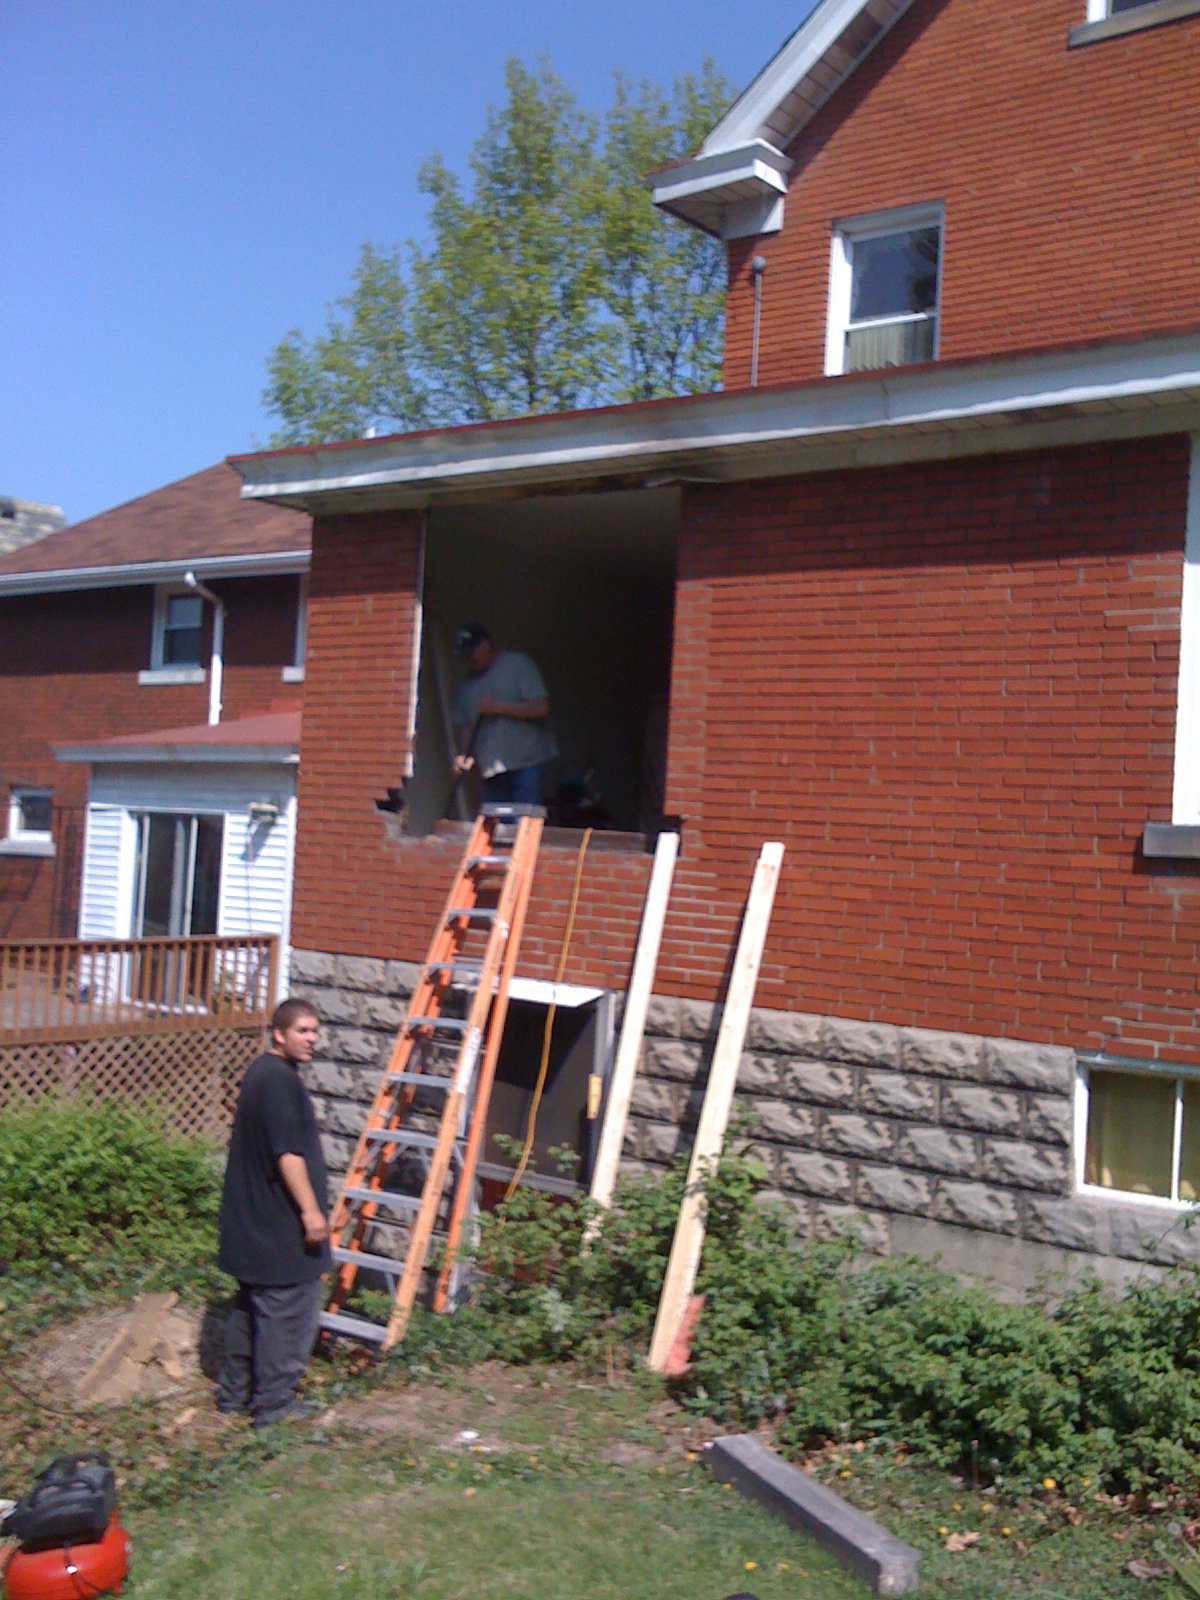
  This kid is becoming so pro. I joke that when he grows up he's going to buy a new-construction condo in a hot climate to get back at us for living in a cold place and constantly renovating houses.In the background you can see a bit of what went on here. We had a bathroom next to a huge closet that was too little to be a room and too large to remain a closet. So we took out most of the wall between the two spaces in order to reconfigure the floor plan and build an alcove for the new tub. See below for da Vinci-like rendering:
 Boom.
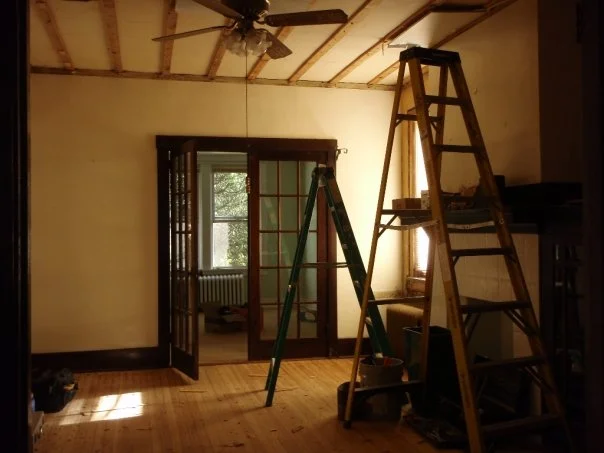
Boom. 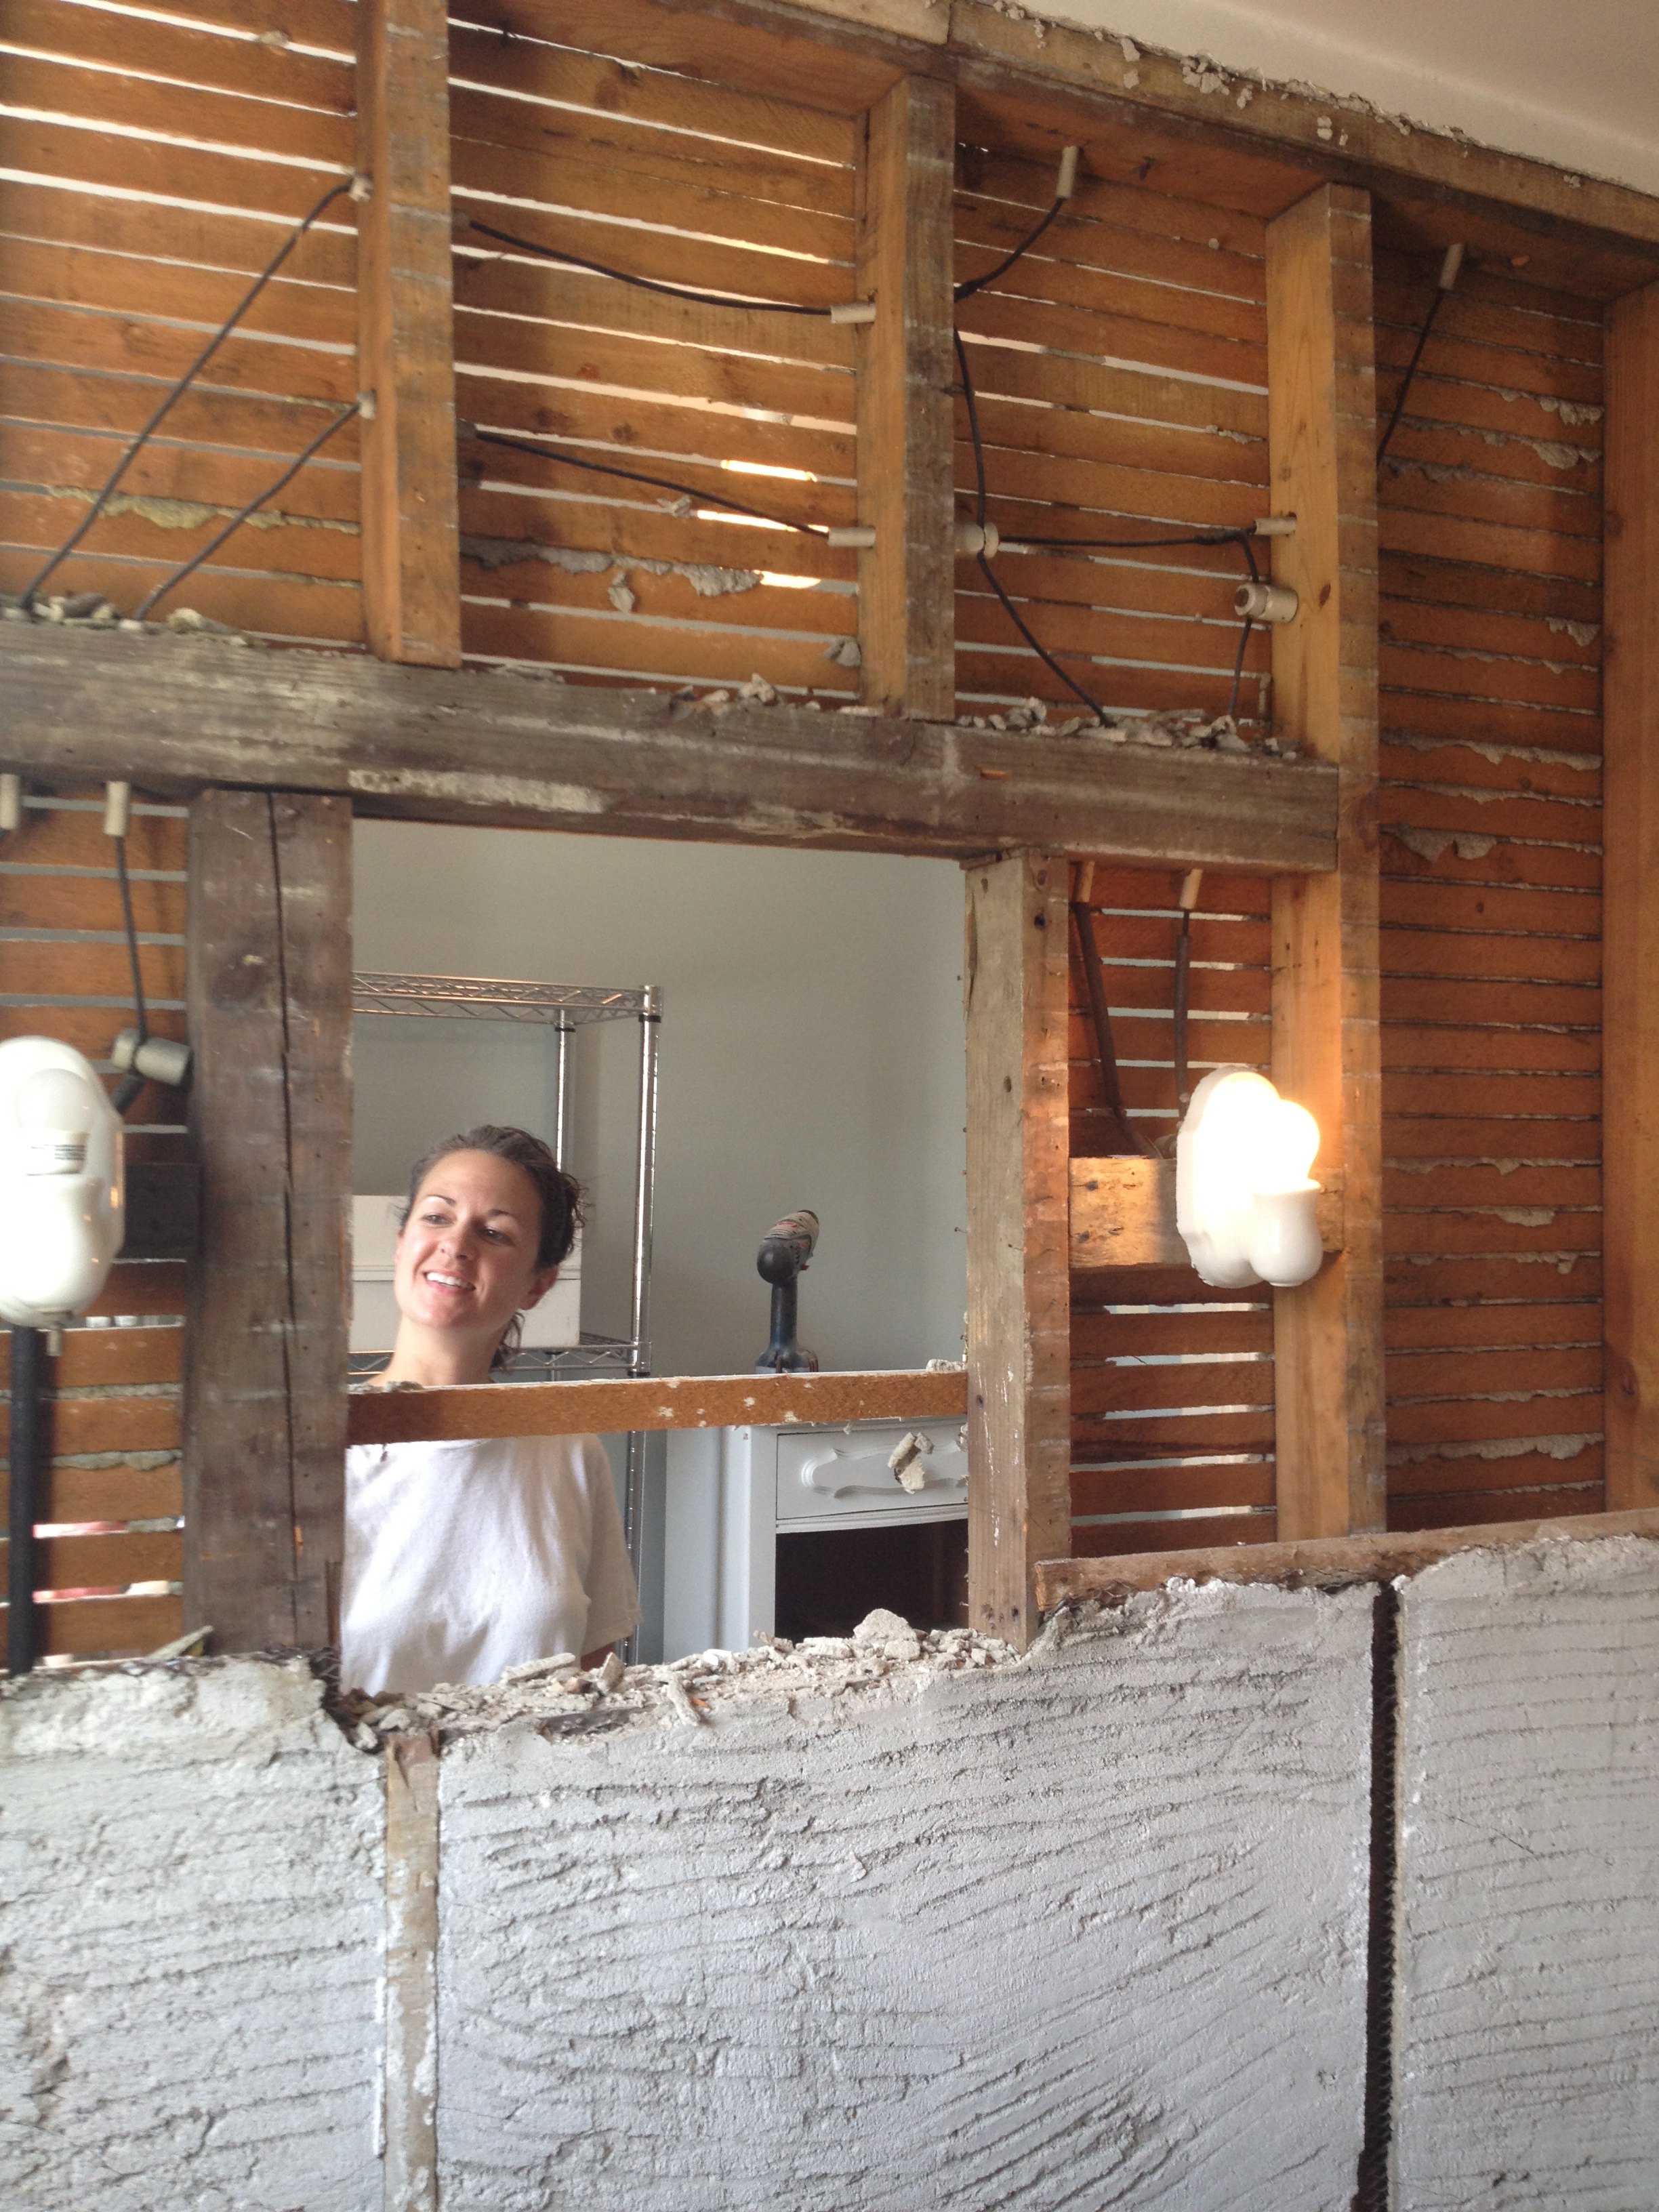 Do you wonder what your walls look like under that plaster? This. That is my wonderful friend who spent a weekend with us JUST TO DEMO.The craziest thing that happened during demo was this: do you see those charming little light fixtures on either side of the opening where the medicine cabinet used to live? Shortly after this picture was taken Steve shut off the power and disconnected the first light (I think it was the one on the left). As he pulled out the set screw that held the light to the wall a fizzing sound and natural gas smell took over the room. The light was still attached to a LIVE gas line from 76 million years ago when these homes used gas-powered lights.Cue call to the Columbia Gas 24hr Emergency Line. Nice guy comes out and kills the line. We counted our lucky stars and got back to demo.
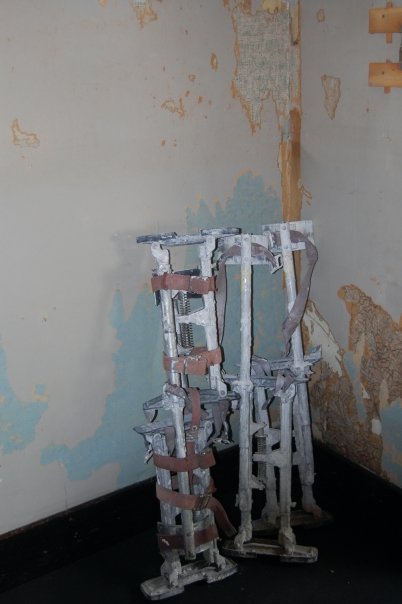
 This is about when it got real sexy. This is the area under the old tub.
 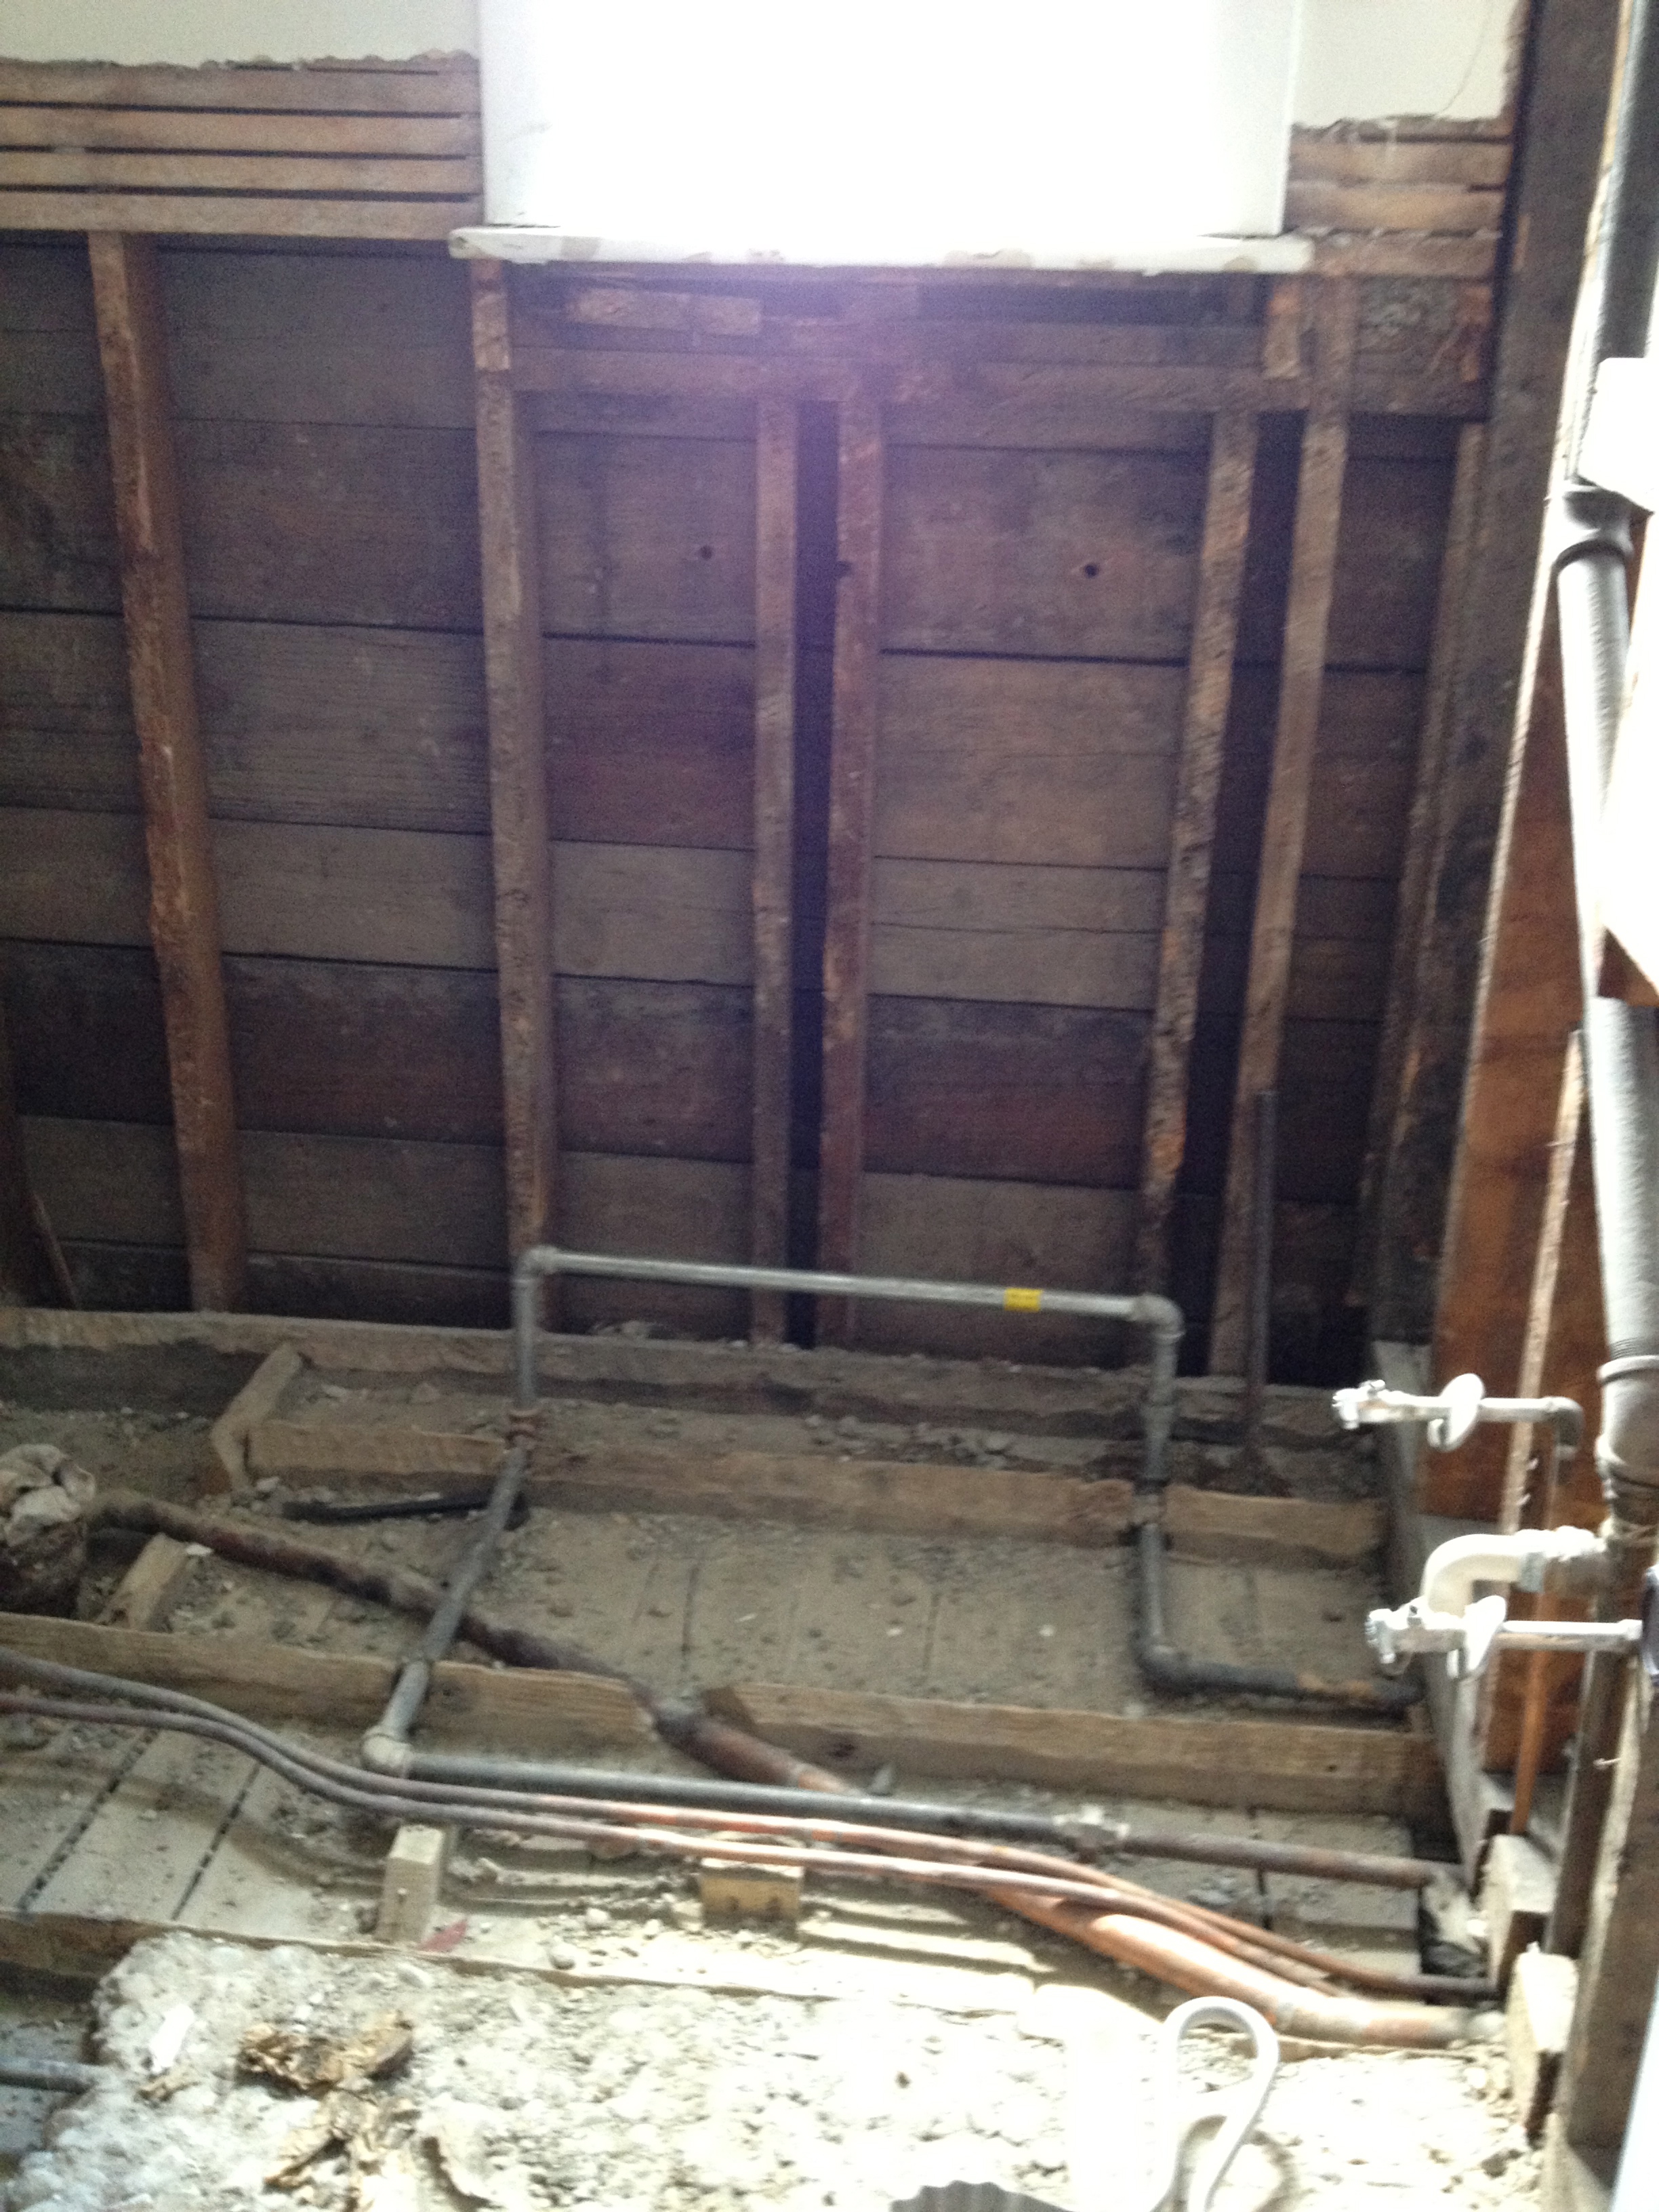 At this point we had everything pretty much out. We had to break up the solid concrete floor that was under most of the floor. After this was removed the wall between the bath and closet and then our contractor started putting it all back together.
  I want to learn to drywall. Sometime.
  This is one of my favorite parts of the new room. We salvaged all of the lathe that was behind the plaster. Steve designed this wall-o-lathe and we cut and sanded everything to create the wainscoting. It's gorgeous.The floor tile is 6" slate that I love and is easy to work with and budget-friendly.The medicine cabinet is the original one which I started to strip except I got it to this layer and loved it. Sanded, sealed and done.The light fixtures came from an odd shop in Lititz, PA. We have a few other light fixtures from them in other parts of the house.
  Here is where we are today. The sink was a Craigslist find which I had powder-coated to match a Pantone swatch. The toilet was upgraded to one that doesn't use 84 gallons of water per flush. The "vanity" is a table that I have carted around since I lived in Charleston, SC in 1996. The antique dental molds also traveled with me from Charleston where I found them in an abandoned building. Lastly the poster is by Paul Mastriani at Lure Design.What remains? We need to paint the trim, put window film on the little window in the tub/shower and put a threshold down in the main doorway. I've given us one more year to finish.
 THIS lovely thing was made by my husband. The lights are reproduction trouble lights from the Anthropologie Sale Room and the box is constructed of lath from our recent bathroom demolition. I love it for a lot of reasons but one of the best things is the cool shadow is casts across the room.